How To Troubleshoot Your Commercial Food Steamer
- Posted on
- AirExpress
- To Write First
Steamers are a necessary item in every commercial kitchen. As a commercial steamer is used daily in the kitchen, it’s bound to perform abnormally at some point, which would need immediate attention if you want it to cook food perfectly. In our previous blogs, we have covered various commercial steamer problems. However, as there are so many, we still have a lot to discuss. Before we start, if you notice that the issue is more complicated than removing the removable parts and cleaning the unit, it’s better to call in commercial appliances repair services.
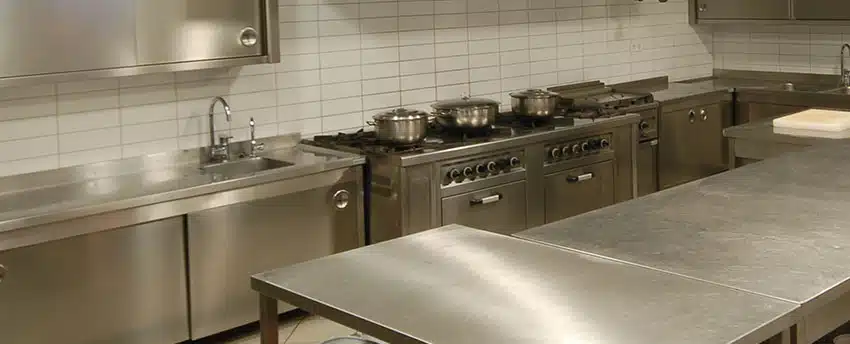
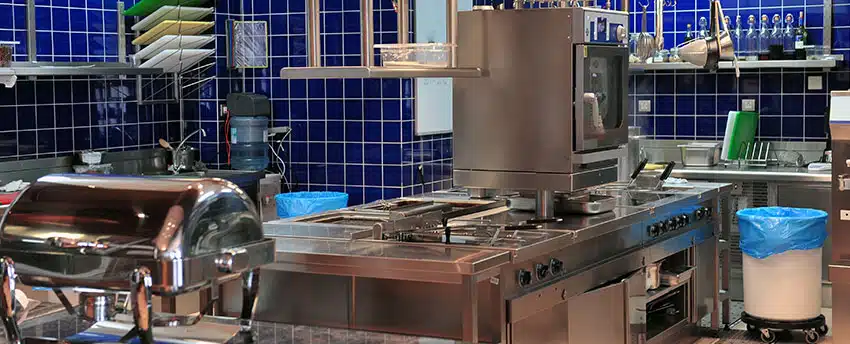
Troubleshooting A Commercial Food Steamer
There are many types and models of commercial food steamers so some solutions listed below might not fix your specific unit. For exact procedures and instructions, refer to the user manual of your commercial steamer.
The Power Indicator Light Doesn’t Turn On
When you turn on the unit, the power indicator light also turns on. If it doesn’t, the issue could be:
Just A Broken Power Indicator Light
If your unit is working fine, but the power indicator light doesn’t turn on, then you may have already determined that it’s just a broken power indicator light. Even if that’s the case, you should not ignore the problem.
A power indicator light is a basic feature in every commercial steamer because it’s a critical one. It shows you visually whether the unit is on or off. If there is no visual clue of the state of the unit, it can lead to accidents. So, have an expert fix the issue before it causes trouble to you or any staff member.
The Steamer Is Not Receiving Power
If your steamer is not turning on at all, the first thing to do is to ensure that the steamer is connected to a power source. Check its power cord and reconnect it to the power outlet if possible. Sometimes, power outlets are blown so look for any signs of that.
If the steamer doesn’t turn on after checking the power cord and the power outlet, then it may be an issue with the circuit breaker. A circuit breaker is an electrical component that allows power to a certain part of a facility. There are many circuit breakers in a breaker box. They work individually so that if an electrical problem occurs in one part of the facility or one circuit breaker, it doesn’t lead to a power failure of the entire facility.
So, locate the breaker box and check the circuit breaker that is responsible for allowing power to the part of the facility where you have the steamer installed. If it’s off turn it on. If it doesn’t turn on or it turns on but trips again, contact an expert.
Broken Controls
If you see that the circuit breaker is not the issue and the steamer is receiving power, then the controls may be broken. A broken steamer control is not a big issue and can be fixed by an expert quite quickly, but it still can cause delays in food preparation. So, call in an expert ASAP to avoid delays.
The Steam Generator Of The Steamer Doesn’t Fill With Water
There are multiple types of steamers like induction steamers, boiler steamers, boilerless steamers, and others. One of the types uses steam generators for producing steam. A common issue in these units is the steam generator not filling with water.
Check The Water Supply
The first thing to check when there is any water-related issue with any appliance is the water valve. Check if the valve of the water line connected to the steamer is on.
Clogged Line Strainer
A Line strainer is usually present at the base of the steamer which keeps solids and particles from entering the steam generator. Over time, it can get clogged. As this keeps happening, you might notice that the steam generator has started taking more time to fill and at one point, it might not fill with water at all. To avoid these problems, regular cleaning of the line strainer is suggested.
Clogged External Filter
External filters are also used for blocking solids and big enough particles that can be trapped in the filter. Check your external filter as well and clean it.
Shorted Water Sensor
There is also a water sensor that is used to keep a certain level of water for the steam generator. With usage, the water sensor shorts due to scale buildup on it. This renders it useless. Due to this, it can’t detect the water levels so either the steam generator won’t fill with water or it will overflow with water. In any case, that’s a problem.
The solution is easy if you know how to descale a water sensor. While you’re at it, descale other parts of the commercial steamer as well.
Broken Solenoid Valve
Problems with solenoid valves can cause water-filling issues. There can be multiple solenoid valves for various tasks so have an expert inspect the unit and fix the solenoid if it’s causing the problem.
Broken Controls
The issue could be as simple as broken water controls. If everything is fine, then the controls may be the culprit.
Too Much Steam Is Coming Out Of The Drain
Commercial steamers are made in a way that condensates the steam when they drain. This keeps the kitchen area from becoming a place filled with clouds of steam. Moreover, this also prevents the steamer’s door from getting smacked open by the steam. So, which part is usually responsible for this problem? The answer is the condensate valve or, simply, the condenser.
The condenser is there to spray water on the drain pipe when the steam is leaving. This condensates the steam which means the steam turns to water for easy draining. So, look for these problems:
Hot Water Supply Is Connected To The Condenser
The condenser requires cold water to efficiently eliminate steam by spraying it on the steam and turning it into water. However, if there is a hot water supply connected to the condenser, the condensation process will be affected. There will still be steam leaving the drain.
No Water Supply
You should also check if the water connection is open to the condenser because if there’s no water, then the condenser can’t spray anything on the steam. Therefore, after checking the water connection valves, also look for any clogs or leaks preventing water from entering the steamer and the condenser.
Clogged Water Strainer
If you haven’t checked the water strainer already, then take a look because it can get clogged and requires regular cleaning. Otherwise, the water supply to the steam will be halted.
Broken Condenser Valve
If everything with the water supply is fine, then the condenser itself may be faulty. Mostly, scale can build up on the condenser blocking its sprayer. However, it’s difficult to check yourself so you should call in a technician to check the condenser and other parts to know why your commercial steamer is draining a huge amount of steam.
Broken thermostat
Thermostat problems are also linked to too much steam production so consult an expert for its inspection.
Conclusion
Commercial steamer problems can be difficult to fix if you don’t know their causes and solutions. We have covered a few problems that usually arise. To avoid problems and accidents, always hire an authorized commercial steamer repair Fairfax technician for maintenance and repairs.